How to Prepare Your Walls for Benjamin Moore Paint: A Quick Guide
Prepping your walls properly is the secret to getting the best results with Benjamin Moore paint. A little extra effort now will help your colour shine and stand the test of time.
Keep reading to learn how to create a smooth, long-lasting finish that will make any room look its best.
Step #1: Clean the Walls Thoroughly
A clean surface makes all the difference before you start painting. A bit of prep will ensure your Benjamin Moore paint goes smoothly and stays fresh.
Remove Dust and Dirt
Dust walls with a microfiber cloth or use a vacuum with a brush attachment. Removing loose dust and dirt will help your paint stick better and create an even finish.
Degrease in High-Traffic Areas
Use a mild degreaser to wipe down the walls in areas like the kitchen or hallway, where grease and grime tend to build up. This strategy prevents stains from showing through the paint and makes the paint stick better.
Step #2: Patch and Repair
Patching and repairing your walls can lead to a flawless finish, highlighting the quality of Benjamin Moore paint.
Fill Holes and Cracks
Fill holes, dents, or cracks with spackling paste or a wall filler. A putty knife can help you press the filler into the damaged areas. Scrape off any excess.
Sand for Smoothness
Once the filler has dried completely, it’s time to sand the walls. For small areas, use fine-grit sandpaper (around 120 to 150 grit) and a sanding block or a pole sander for larger sections.
Smoothing out the patched areas and any rough spots removes bumps or ridges that would stand out under the paint. Using a damp cloth to wipe the wall to remove dust helps the primer and paint adhere better.
Check for Wall Imperfections
Scrutinize the walls for any remaining imperfections. Stand back and look at the wall from different angles in natural light — some flaws are easier to spot this way.
Mark any areas that need further attention with light pencil marks so you can address them before painting. This extra check will help avoid surprises later, ensuring your paint looks flawless from every angle.
Step #3: Prime the Walls
Priming is the final prep step, giving your paint a solid base to adhere to.
Choose the Right Primer
Select a primer suited to your wall type and paint colour. A tinted or stain-blocking primer works best for dark walls, while a basic primer will do for lighter surfaces.
Apply Primer Evenly
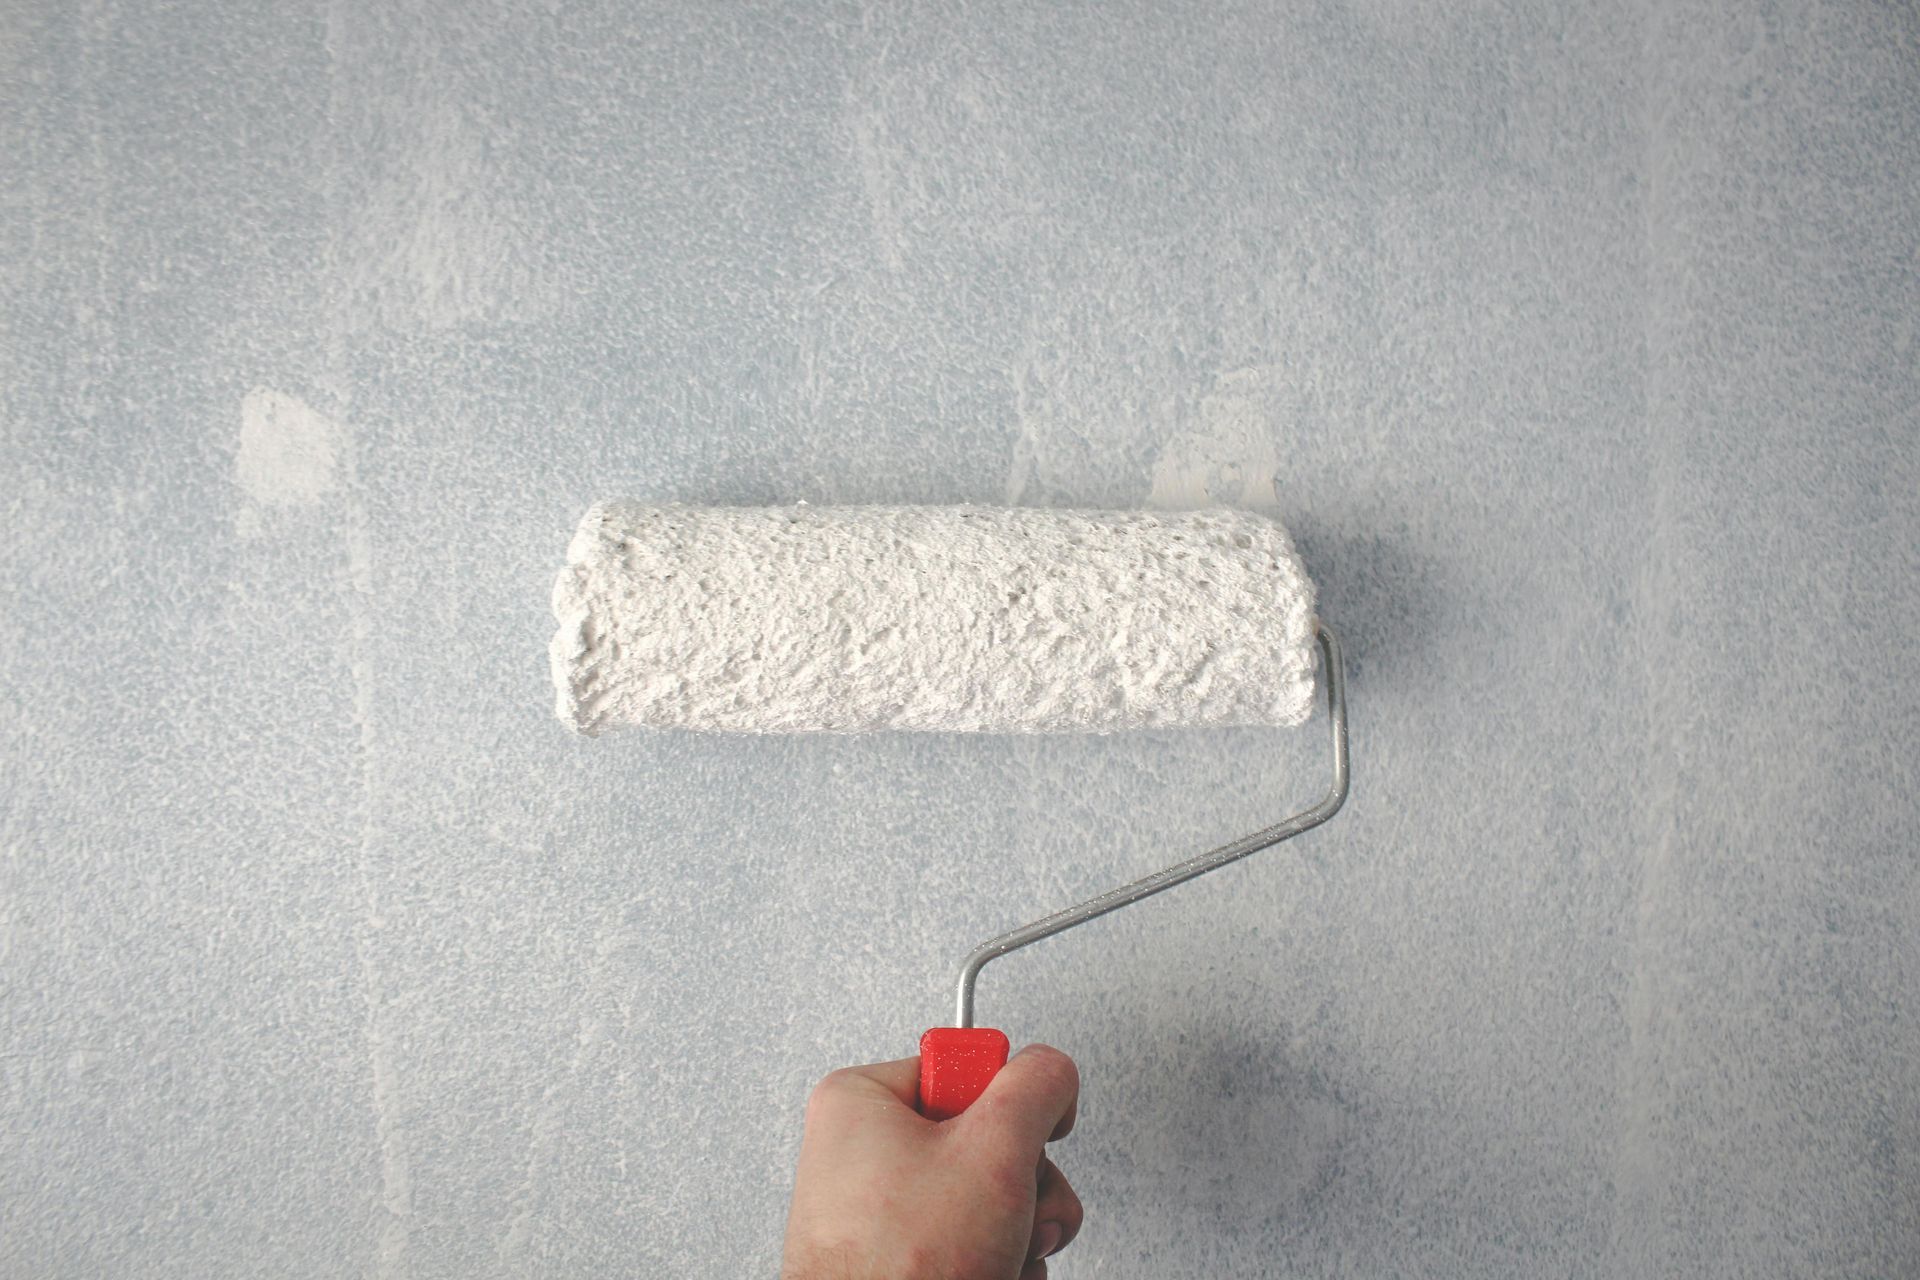
Apply the primer evenly using a roller for large areas and a brush for edges. Let the primer dry thoroughly before starting to paint.
Ready to Take Your Painting to the Next Level?
Durability and a polished look start with preparing your walls the right way.
Crowfoot Benjamin Moore’s painting specialists have many tips and tricks for turning your interior or exterior painting project into a masterpiece that will last for years.
Stop by, say hi, and learn more about high-quality Benjamin Moore paints and the best tips for achieving professional results.